How I create a photo book
Photo Books – and how I handle them
For me it is always the same procedure – I am starting a photo book because I am eager to have it printed one day. But at some point “life” is coming in between and the photo book is suddenly not that important anymore. After a while, I feel like starting again. But in the most cases I just start a new book because new things cause new inspiration. This is much more interesting than completing existing and unfished projects. I even have a folder at my desktop called “Ongoing Projects”. How ridiculous :). I was thinking: How can I prevent this and start finishing all my open tasks?
I developed a method for this problem. I will let you know which steps help me to finally finish my projects. I am pretty sure it is worth it because there is no better feeling like holding the printed book in my hands instead of single pages on my desktop.
I don’t know if these tips will help you as well. But maybe there is one point or the other which could support your scrapbooking. I kept my method neutral which means it doesn’t depend on a special product or scrapbooking procedure. So it doesn’t matter if you use Photoshop, Lightroom or other tools for designing your photo book.
I will illustrate my tips with some of my own creations to make it better understandable. In case you have any feedback or questions I am very happy to hear from you (comments or contact).
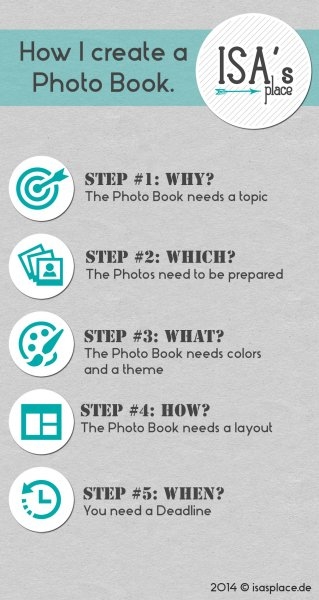
Step #1: The Photo Book needs a topic – in order to have a framework
Always the first thing I need to know: What’s the topic of the whole book? Without the topic I am lost before I begin. It is the target, an objective. Every other decision and every move depends on this intention. It’s the “WHY” in my method: WHY do I create this photo book? If I am clear on that it is much harder for me to forget about it. So in the end I will get back and finish it because I want this topic be finished and the book printed on my table.
Examples: Timeframe (e.g. December 2013), Holidays (e.g. Paris 2014), Special times of life (e.g. Studying abroad 2012), etc.
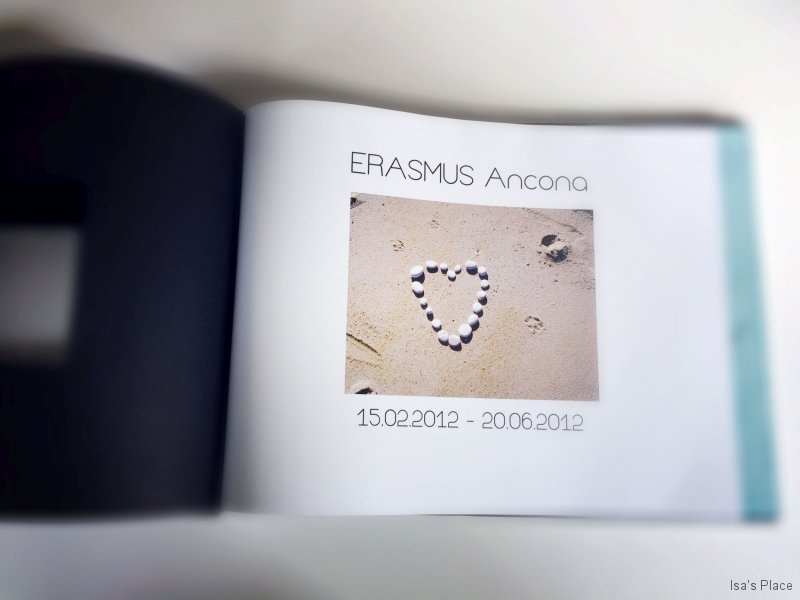
There are a lot of different topics in your life which you could use in your photo books. One of my examples is the use of “past events” as topic of the book. For example, one of my books is about my time in Italy in 2012 where I studied for 4 months:
Step #2: The Photos need to be prepared
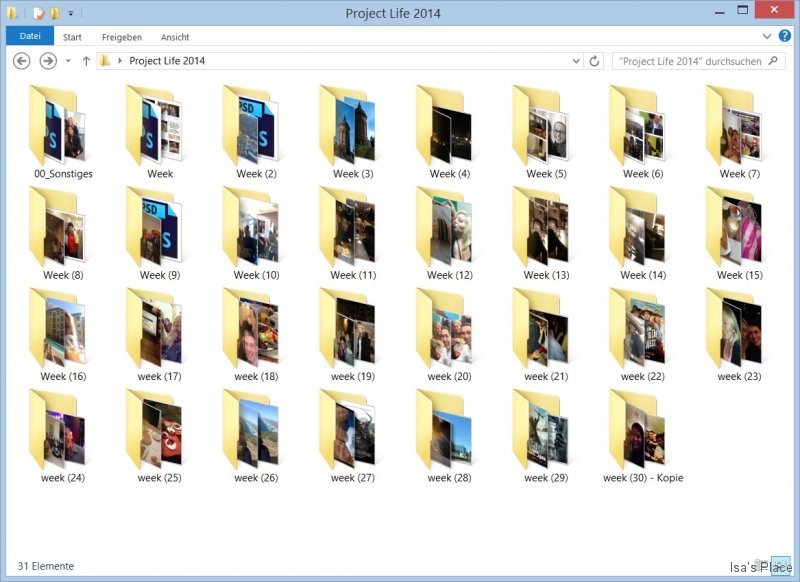
I regularly spend some time on organizing my photos. Mostly, I do not have the intention but it comes in handy when I start creating my photo books. It also makes sense to remove pictures you do not want to be printed. It’s the “WHICH” in my method: WHICH photos should be in my new photo book?
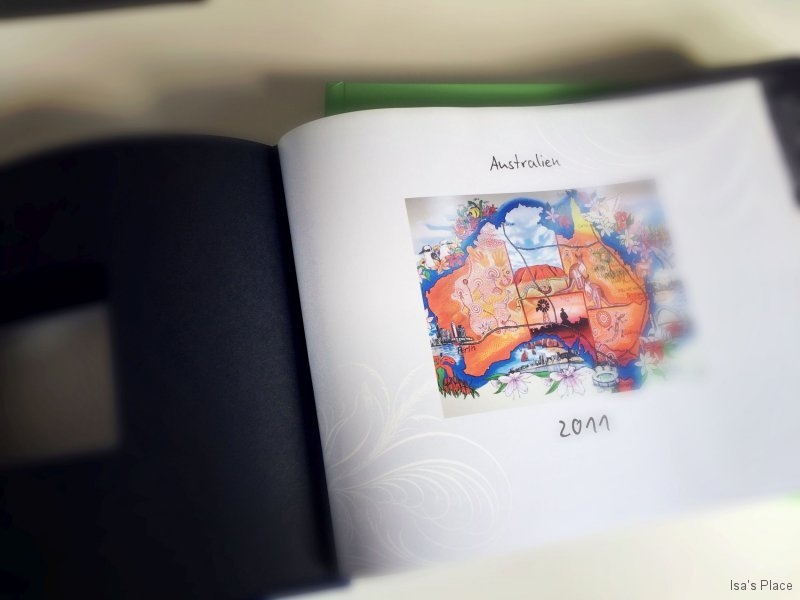
Another thing to consider is the limit of pages when printing a photo book. So it could help to plan a little before starting to create. For example, I wanted to make an album about my 5 months in Australia but I had to fit all the content on 100 pages maximum. Not very easy but possible with a little bit preparation.
You save yourself a lot of time if your pictures are prepared. You can prevent those “lower tasks” while doing the fun part – creating your photo book. For me this helps to keep up the work and increases the willingness to finish the album.
Step #3: The Photo Book needs colors and a theme
One thing which helps me to save time enormously is the choice of the color palette and the kind of design I want to have in the book. So I do not have to think about this every time I create a new page. So normally, I choose one color palette I keep throughout the whole album. This is the “WHAT” in my method: WHAT can be used to support my topic, my intention and my photos best?
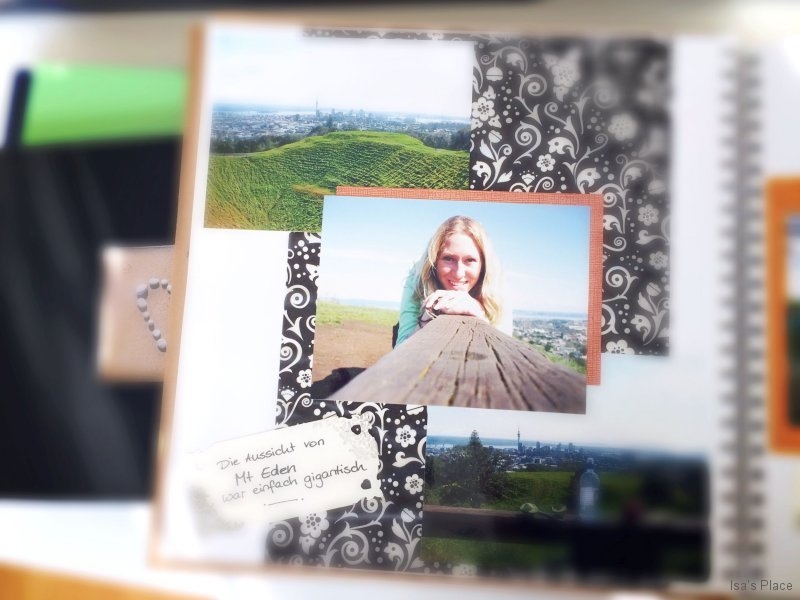
For my album about New Zealand I chose black and white as color palette to let the colors of the photos pop out. Even when I do not do digital scrapbooking I rely on this method:
Additionally, it could help if you assign a theme or maybe better, the style of the pages. This should be aligned with the topic. If your book is about your summer holidays you could limit the use of embellishments to everything related, like shells, sand or butterflies. With this you have a great aligned photo book and you safe time during creation of the book because your choices are limited :).
Step #4: The Photo Book needs a layout – in order to safe time
It really helps me when I think about the basic layout and the design elements before starting the photo book. I create one page and try to figure out how to put the pictures and basics like background, frames and font together. This one page can be used for further reference during creation. This is the “HOW” in my method: HOW do you design the pages and place the pictures in order to have a great, relevant and beautiful photo book?
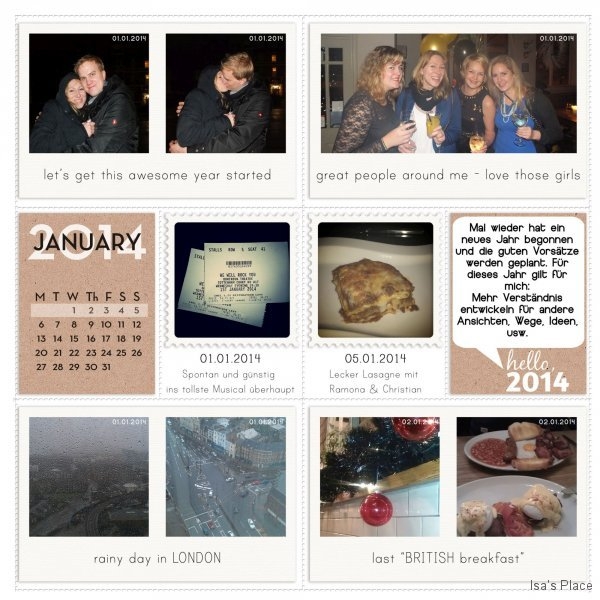
If you think about it, this really helps you finish your photo books. It’s exactly why Project Life from Beggy Higgins is so famous. Because with the fixed layouts it’s easy to keep up the work. That’s why templates are nice to use as well. But for me it doesn’t end with the placement of the content. It’s also about deciding which basics to use like background structure, fonts or frames. I did a layout for my Project Life 2014 myself and I intend to use something similar throughout the whole book, with the white and the cardboard.
Step #5: You need a Deadline
Do yourself a favor and set a deadline for your project. Every project has one! So why not “Scrapbooking” as well?! It’s the WHEN in my method. WHEN do I have to be done with my photo book? With a deadline it is the best way for me to sit in front of the laptop in the evening and be focused on finishing my project in time.
If you feel like some inspiration for your photo books or if you want to see what other people did please feel free to check out my Pinterest Board on that topic:
Follow Isabell Hauck’s board I love Photo Books on Pinterest.
Do you have any comments or other ideas? I think everybody needs to find her own approach. But maybe I provided some inspiration for your very own method :).
Have a great day!

